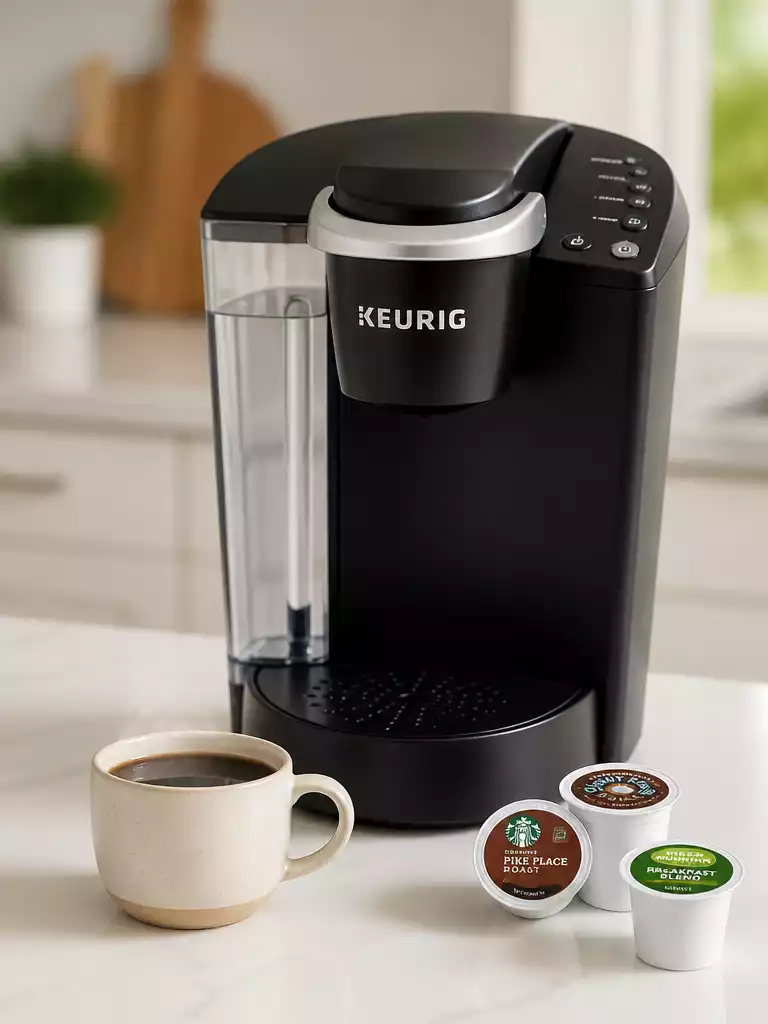
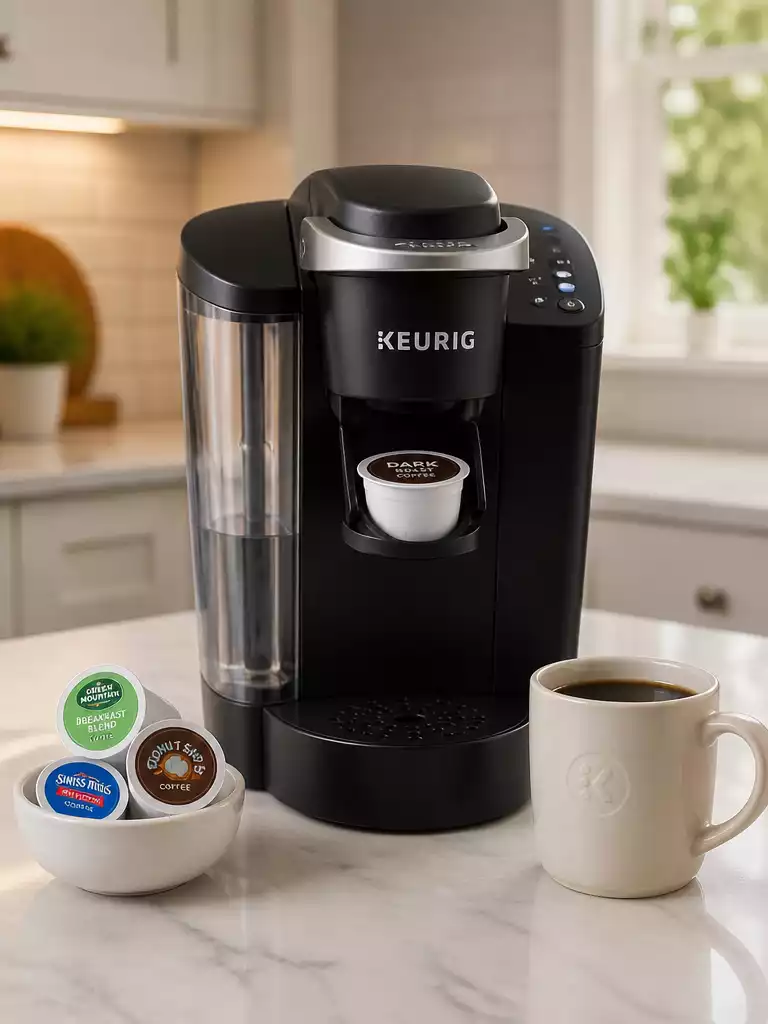
Every coffee lover has faced the frustration of a coffee maker that just won’t brew. But what if I told you that most issues can be fixed with a simple check or two? In this guide, we’ll uncover essential troubleshooting tips for your Keurig coffee maker to ensure your mornings remain blissful and coffee-filled.
What You Will Learn
- Identify common issues that may prevent your Keurig from working, including power supply problems and clogged needles.
- Learn quick fixes for immediate troubleshooting, such as checking power connections and cleaning the needle.
- Understand the importance of K-Cup compatibility to avoid brewing failures.
- Discover the significance of regular maintenance tasks like descaling to extend the life of your coffee maker.
Troubleshooting Your Keurig Coffee Maker: Common Issues and Quick Fixes
If you’re like me, your morning routine probably revolves around that first cup of coffee from your trusty Keurig coffee maker. However, there are moments when it just doesn’t work as it should, and that can be frustrating! Understanding why your Keurig isn’t functioning properly is the first step toward a quick resolution.
In this section, we’ll explore common issues that may prevent your Keurig from turning on or brewing. I’ll share some quick fixes that can help get your coffee maker back in action, so you can enjoy your coffee without delay!
Understanding Why Your Keurig Coffee Maker Is Not Working
There are a number of reasons why your Keurig might not be working. It could be as simple as a power issue or perhaps there’s something blocking the brewing process. Let’s take a closer look at some potential causes:
- Power supply issues
- Clogged needles
- Empty water reservoir
- K-Cup compatibility problems
By identifying the root cause, you can save time and avoid unnecessary stress in the mornings! Knowing what to check first can lead to a quick fix and get you sipping your favorite brew in no time.
Immediate Solutions for Common Keurig Problems
When it comes to troubleshooting your Keurig, there are a few common problems that can often be resolved quickly. Here’s a breakdown of some immediate solutions you can try:
- Check the power outlet for any issues.
- Ensure the water reservoir is seated correctly.
- Clean the needle for better brewing.
- Use compatible K-Cups only.
These steps can help you get back to brewing delicious coffee without too much hassle. Let’s dive deeper into each of these specific issues!
Power Issues: What to Check When Your Keurig Won’t Turn On
When your Keurig won’t turn on, the first thing to check is the power supply. Make sure it’s plugged in securely and that the outlet is functioning. Sometimes, a simple reset can solve the problem!
- Unplug the Keurig for 30 seconds and plug it back in.
- Check for tripped circuit breakers.
- Inspect the power cord for damage.
Following these steps can resolve most power-related issues and get your coffee maker back to brewing.
Brewing Problems: Fixing Your Keurig When It Won’t Brew
If your Keurig starts brewing weak or not at all, it can be a real letdown. The good news is that there are simple solutions to enhance brewing performance!
- Run a cleansing brew without a K-Cup.
- Check that the water reservoir is full and properly seated.
- Inspect the K-Cup for any puncture issues.
These quick fixes often restore normal brewing functions, so you can enjoy your favorite cup as intended.
Water Reservoir and Sensor Alignment Issues
Sometimes, the water reservoir may not be aligned correctly, which can cause the machine not to recognize it. Make sure it’s seated properly and that there’s no debris blocking the connection.
- Remove the reservoir and inspect the connector.
- Ensure the reservoir is filled to the correct level.
- Reattach the reservoir firmly.
A properly aligned reservoir can make all the difference in getting your coffee maker back in action!
Needle Clogs: A Common Cause of Brewing Failures
Needle clogs are a common issue that can prevent your Keurig from brewing effectively. If you notice that coffee isn’t coming out or it’s brewing very weakly, cleaning the needle might be the key.
- Use a paper clip or needle to clear any blockage.
- Run hot water through the needle with a cleansing cycle.
- Perform regular maintenance to prevent future clogs.
Keeping that needle clean helps maintain optimal brewing performance!
Using the Right Cleaning Solutions for Your Keurig
Cleaning your Keurig is essential for its longevity. It’s important to use the correct cleaning solutions and descaling agents to avoid damaging your machine.
- Use Keurig’s recommended descaling solution.
- Avoid vinegar, as it may harm internal components.
- Follow the descaling instructions in your user manual.
Regular cleaning will not only keep your coffee tasting fresh but also extend the life of your machine!
Understanding K-Cup Compatibility: What You Need to Know
Lastly, using the correct K-Cups is vital for your Keurig coffee maker’s performance. Using incompatible cups can lead to brewing issues or damage.
- Only use K-Cups designed for your specific Keurig model.
- Check the packaging for compatibility information.
- Experiment with different brands to find your favorites.
Ensuring you’re using the right K-Cups can significantly improve your brewing experience!
Descaling Your Keurig: Essential Cleaning for Optimal Function
Descaling is a crucial part of keeping your Keurig functioning optimally. Regular descaling can prevent buildup and enhance flavor.
- Descale every three to six months, depending on water hardness.
- Follow the manufacturer’s instructions for descaling.
- Run a cleansing cycle after descaling to clear out residue.
By incorporating descaling into your maintenance routine, you’re ensuring that your coffee maker stays in great shape!
Frequently Asked Questions (FAQs) About Keurig Troubleshooting
- Q: What should I do if my Keurig won’t turn on?
- A: First, check the power supply. Ensure it’s securely plugged into a functioning outlet. Try unplugging the Keurig for 30 seconds and plugging it back in. Also, check your circuit breaker and inspect the power cord for any damage.
- Q: My Keurig is brewing slowly or not at all. What’s wrong?
- A: This is often due to a clogged needle or an improperly seated water reservoir. Try cleaning the needle with a paper clip and running a cleansing brew without a K-Cup. Also, ensure the water reservoir is full and correctly placed.
- Q: How often should I descale my Keurig?
- A: It’s recommended to descale your Keurig every three to six months, depending on the hardness of your water. Regular descaling prevents mineral buildup and maintains optimal performance.
- Q: Can I use any brand of K-Cups in my Keurig?
- A: While many K-Cups are compatible, it’s best to use K-Cups specifically designed for your Keurig model. Incompatible cups can lead to brewing issues or even damage the machine.
- Q: Why does my coffee taste weak?
- A: Weak coffee can result from a clogged needle, an empty/low water reservoir, or using an incompatible K-Cup. Try cleaning the needle, ensuring the reservoir is filled, and verifying K-Cup compatibility.
Pro Tip
Did you know? Regularly running a cleansing brew without a K-Cup can help maintain your Keurig’s performance and prevent clogs. It’s a simple trick that can save you from brewing headaches down the line!
Wrap-Up: Ensuring Your Keurig Coffee Maker Works Smoothly
As we wrap up our troubleshooting journey, let’s recap some key troubleshooting steps that can help keep your Keurig coffee maker operational. From understanding power issues to cleaning the needle, these quick fixes can save you time and ensure your morning brew is just a button away!
Remember, regular maintenance is essential. Simple tasks like descaling and checking the water reservoir can prevent most common problems. With the right care, your coffee maker will be your reliable partner for many coffee-filled mornings to come!
Recap of Key Troubleshooting Steps for Your Keurig
In case you missed any vital information, here’s a quick summary of essential troubleshooting steps:
- Check power connections and fuses if your Keurig won’t turn on.
- Ensure the water reservoir is correctly placed and filled.
- Clean the needle regularly to prevent clogs.
- Descale your machine every few months for optimal performance.
- Use compatible K-Cups to avoid brewing issues.
These steps are the backbone of keeping your Keurig in good working condition. Staying proactive is key to prolonging the life of your coffee maker!
Your Next Steps: Keeping Your Keurig in Top Condition
Now that you have a solid understanding of troubleshooting, it’s time to take action! Regular maintenance is vital to avoid future issues with your Keurig. I suggest setting a monthly reminder for tasks like descaling and needle cleaning.
Consider creating a checklist of maintenance tasks to keep track of everything you need to do. This simple practice will ensure your coffee maker remains in top shape and is ready to deliver that perfect cup every time!
Exploring Warranty Options and Replacement Parts for Keurig
If you find that repairs are needed beyond the basics, understanding your warranty options can be a lifesaver! Most Keurig models come with a standard one-year warranty that covers manufacturing defects. Be sure to keep your receipts!
For replacement parts, I recommend checking the official Keurig website or authorized retailers. They often have the components you need to get your coffee maker back up and running smoothly.
User Experiences: Learning from Online Forums and Reviews
Finally, let’s tap into the collective wisdom from fellow Keurig users! Online forums and reviews offer a treasure trove of troubleshooting tips and maintenance advice.
- Many users share their experiences with specific models and maintenance routines.
- Tips on using third-party K-Cups that work well with various models.
- Advice on common fixes that saved users time and money.
These insights can guide your troubleshooting journey, helping you learn from the experiences of others. Engaging with the community can also provide emotional support when you’re tackling stubborn coffee maker issues!
Recap of Key Points
Here is a quick recap of the important points discussed in the article:
- Check power connections and fuses if your Keurig won’t turn on.
- Ensure the water reservoir is correctly placed and filled.
- Clean the needle regularly to prevent clogs.
- Descale your machine every few months for optimal performance.
- Use compatible K-Cups to avoid brewing issues.